I think I’ll do a little article about SAI later on. There’s a lot of confusing information out there about the system and whether it can/should be removed.
But in the meantime, let’s assume you’re keeping it and dealing with the massive hassle of the brackets. The mounting bracket is attached to metal flex pipe which makes adjustment very difficult.
The original design used 2 6mm x 1mm studs per bracket to attach the mounts to the valve covers. However, on mine, the studs were missing which I suspect is happens often.
It’s nearly impossible to align the bolt holes to use regular bolts. So I suspect a lot of folks leave the studs or replacement bolts off. This can lead to problems, though, because vibration and the stress on the hoses will cause leaks and, potentially, a larger failure.
The easy fix is to install a couple studs on the valve cover if they’re completely missing. This helps align the bracket and pretty quickly put the whole thing back together.
Here’s what you do:
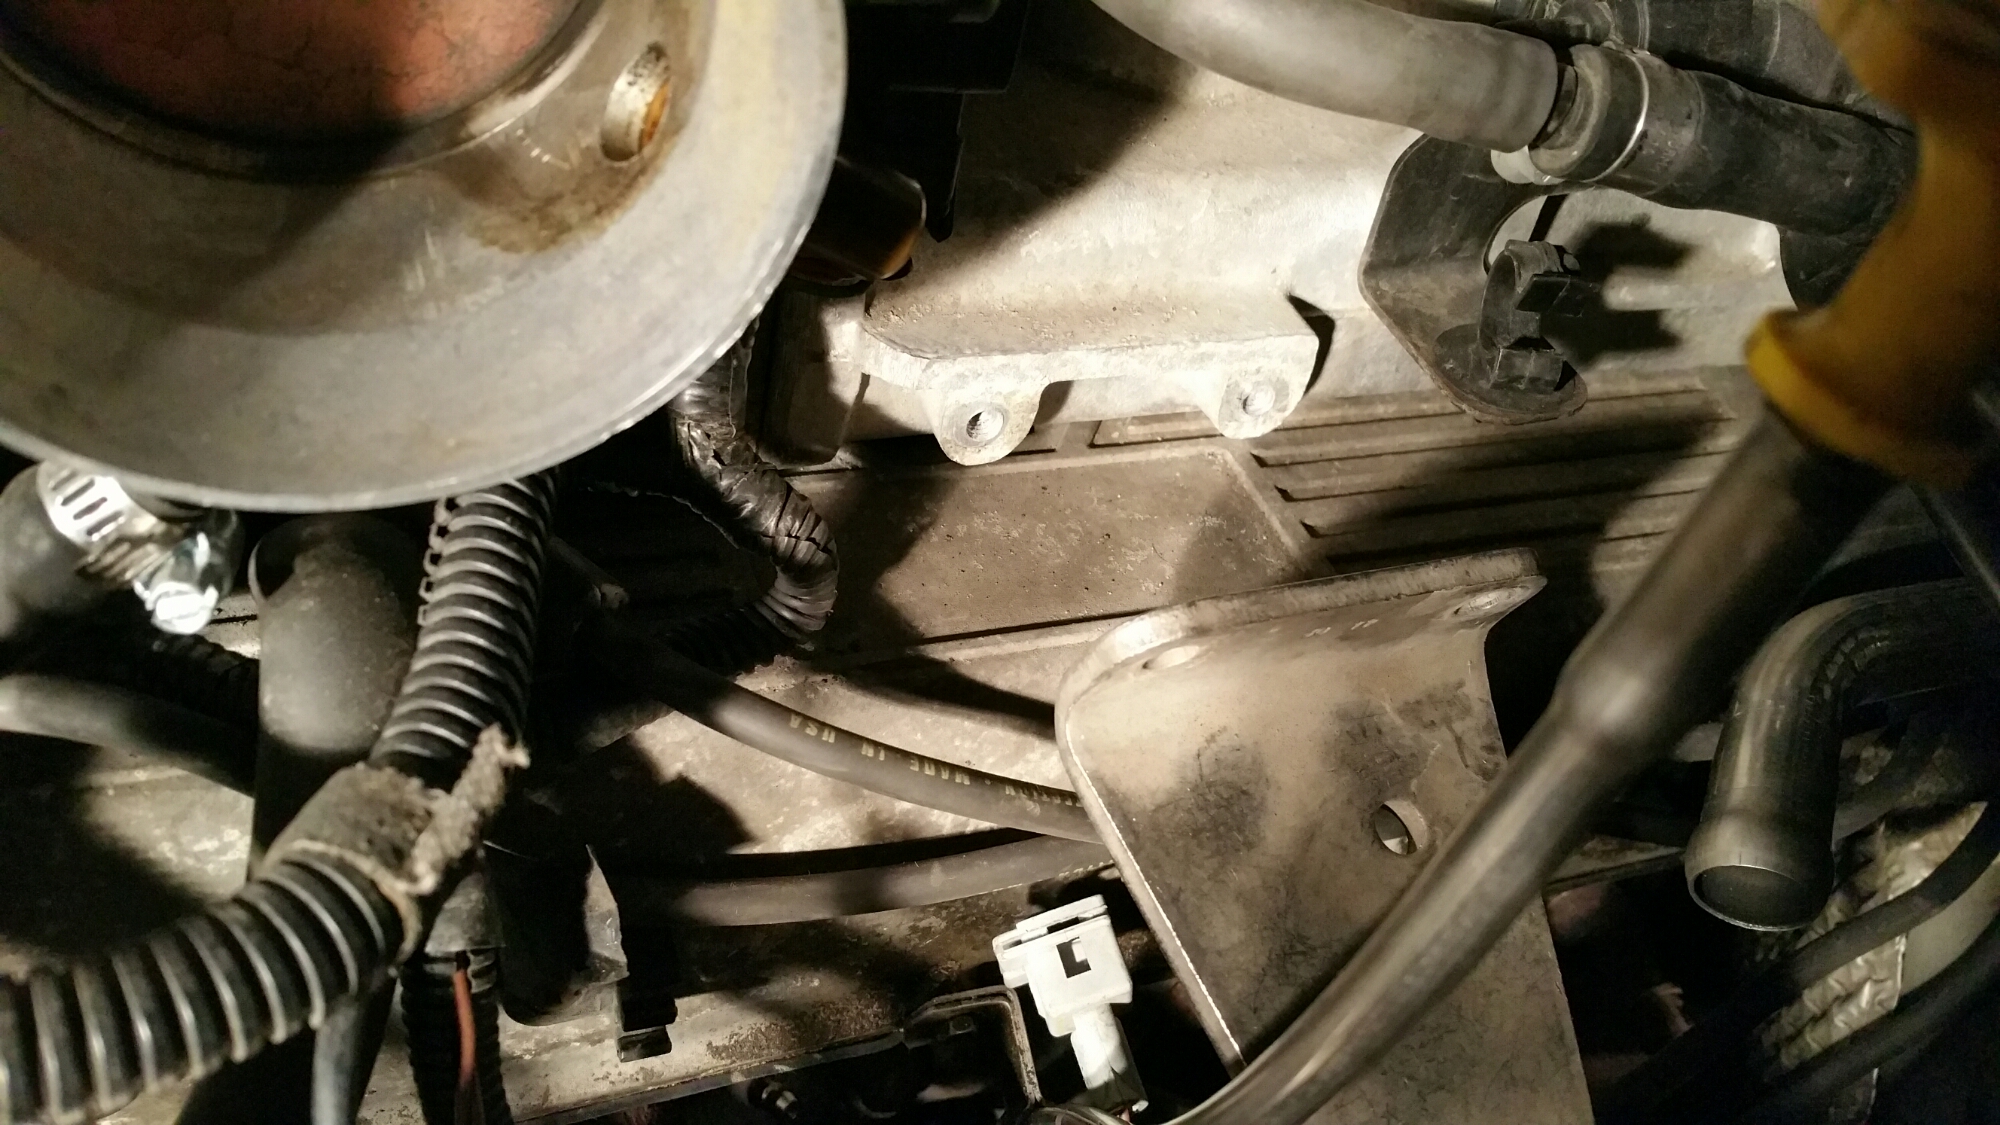
1. Pull the bracket pretty far away from the mount. You can see the bolt holes pretty clearly in the well lit area in the photo below.
2. Take a long 6mm bolt and apply red Loctite to the thread. Any bolt head will do because you will be cutting this off later.
Why not just use a stud in the first place? Cost. A 6mm stud is much more expensive and it’s harder to torque correctly.
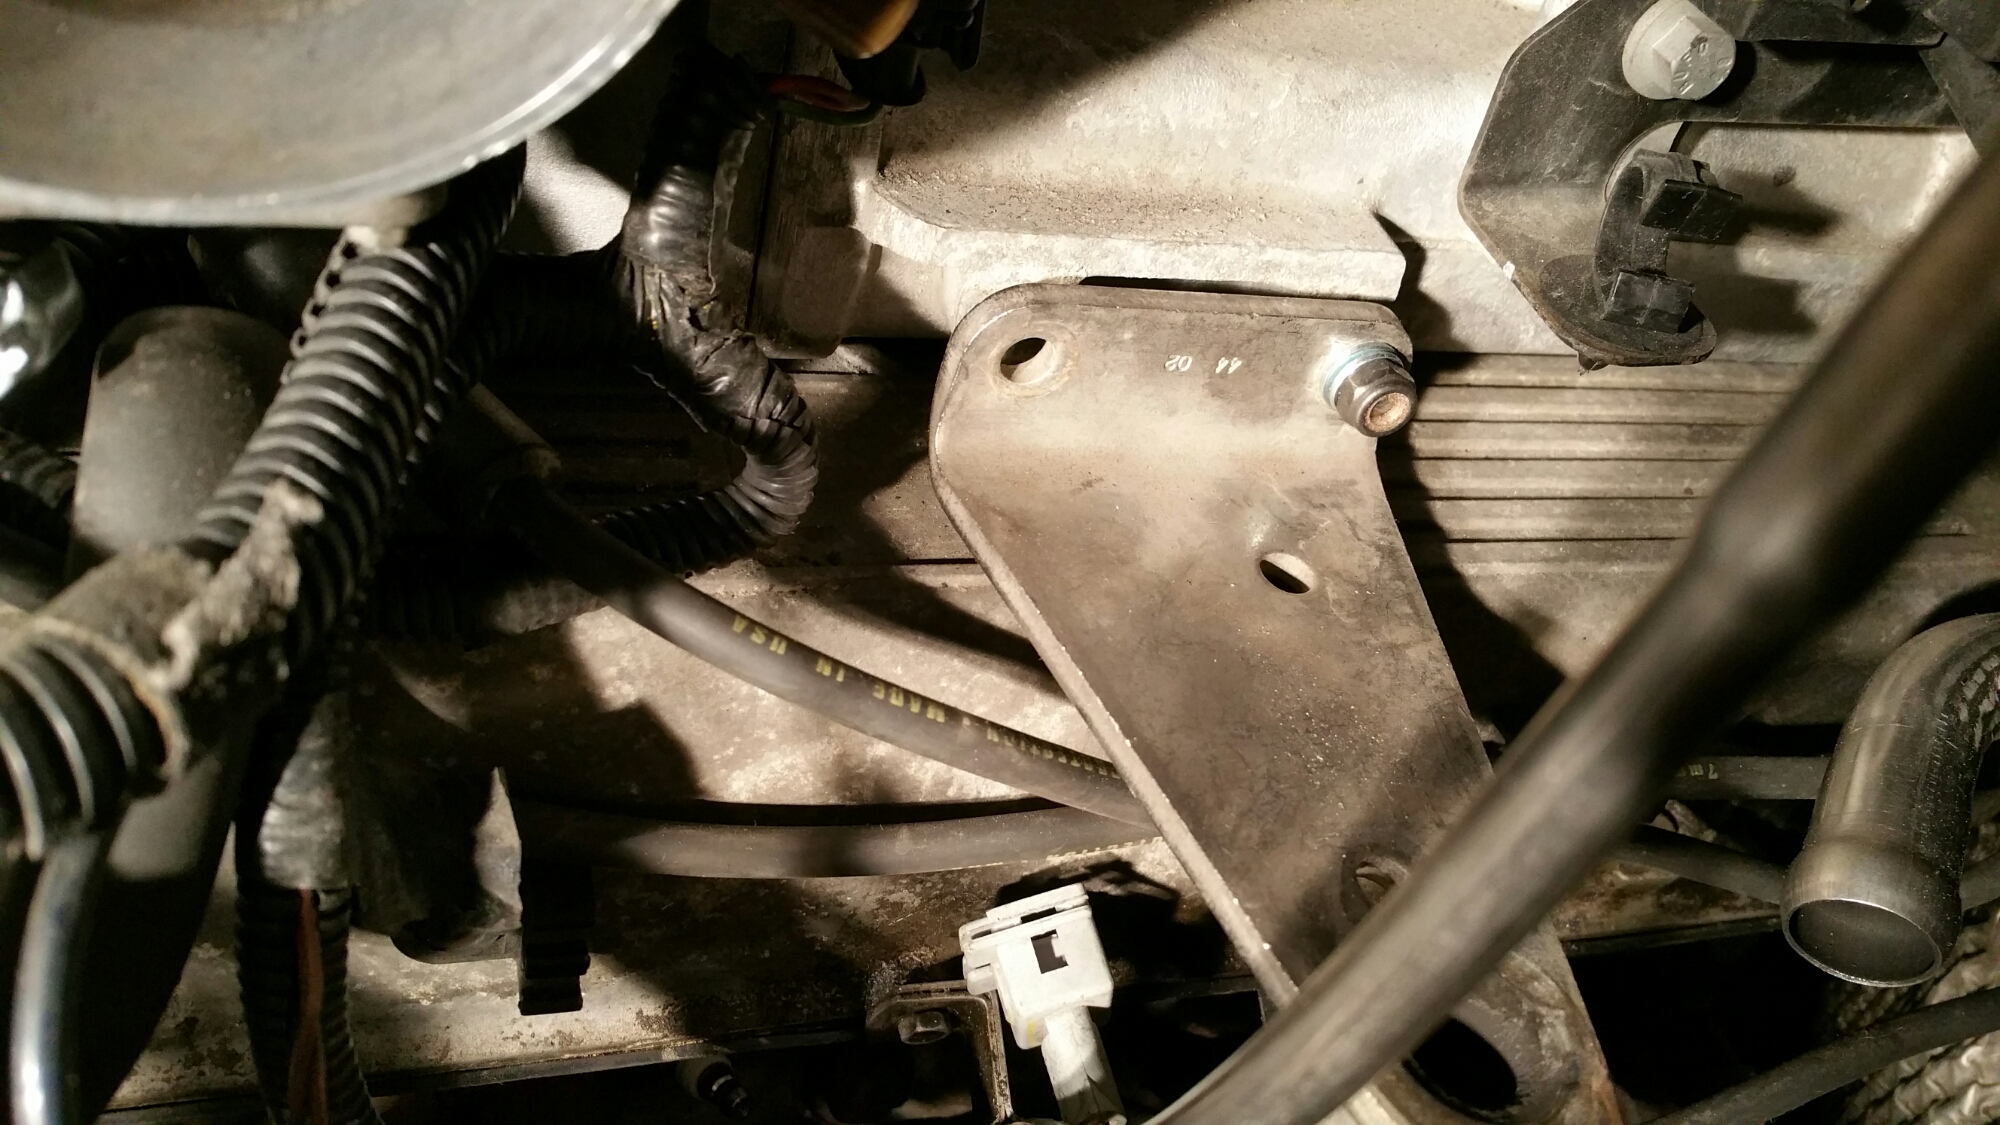
Here’s the bolt in place:
3. After torquing the bolt down, place paper towels around the workspace to prevent metal shavings from going in bad places.
Then, cut off the bolt head with a Dremel.
You might want to chase the threads with a die, but really, you can just round the edge with the Dremel.
4. Add washers and a nut. I used a nylock nut for this, but only because they were convenient. Be sure to add blue Loctite. Only tighten the nut enough to line up the bracket.
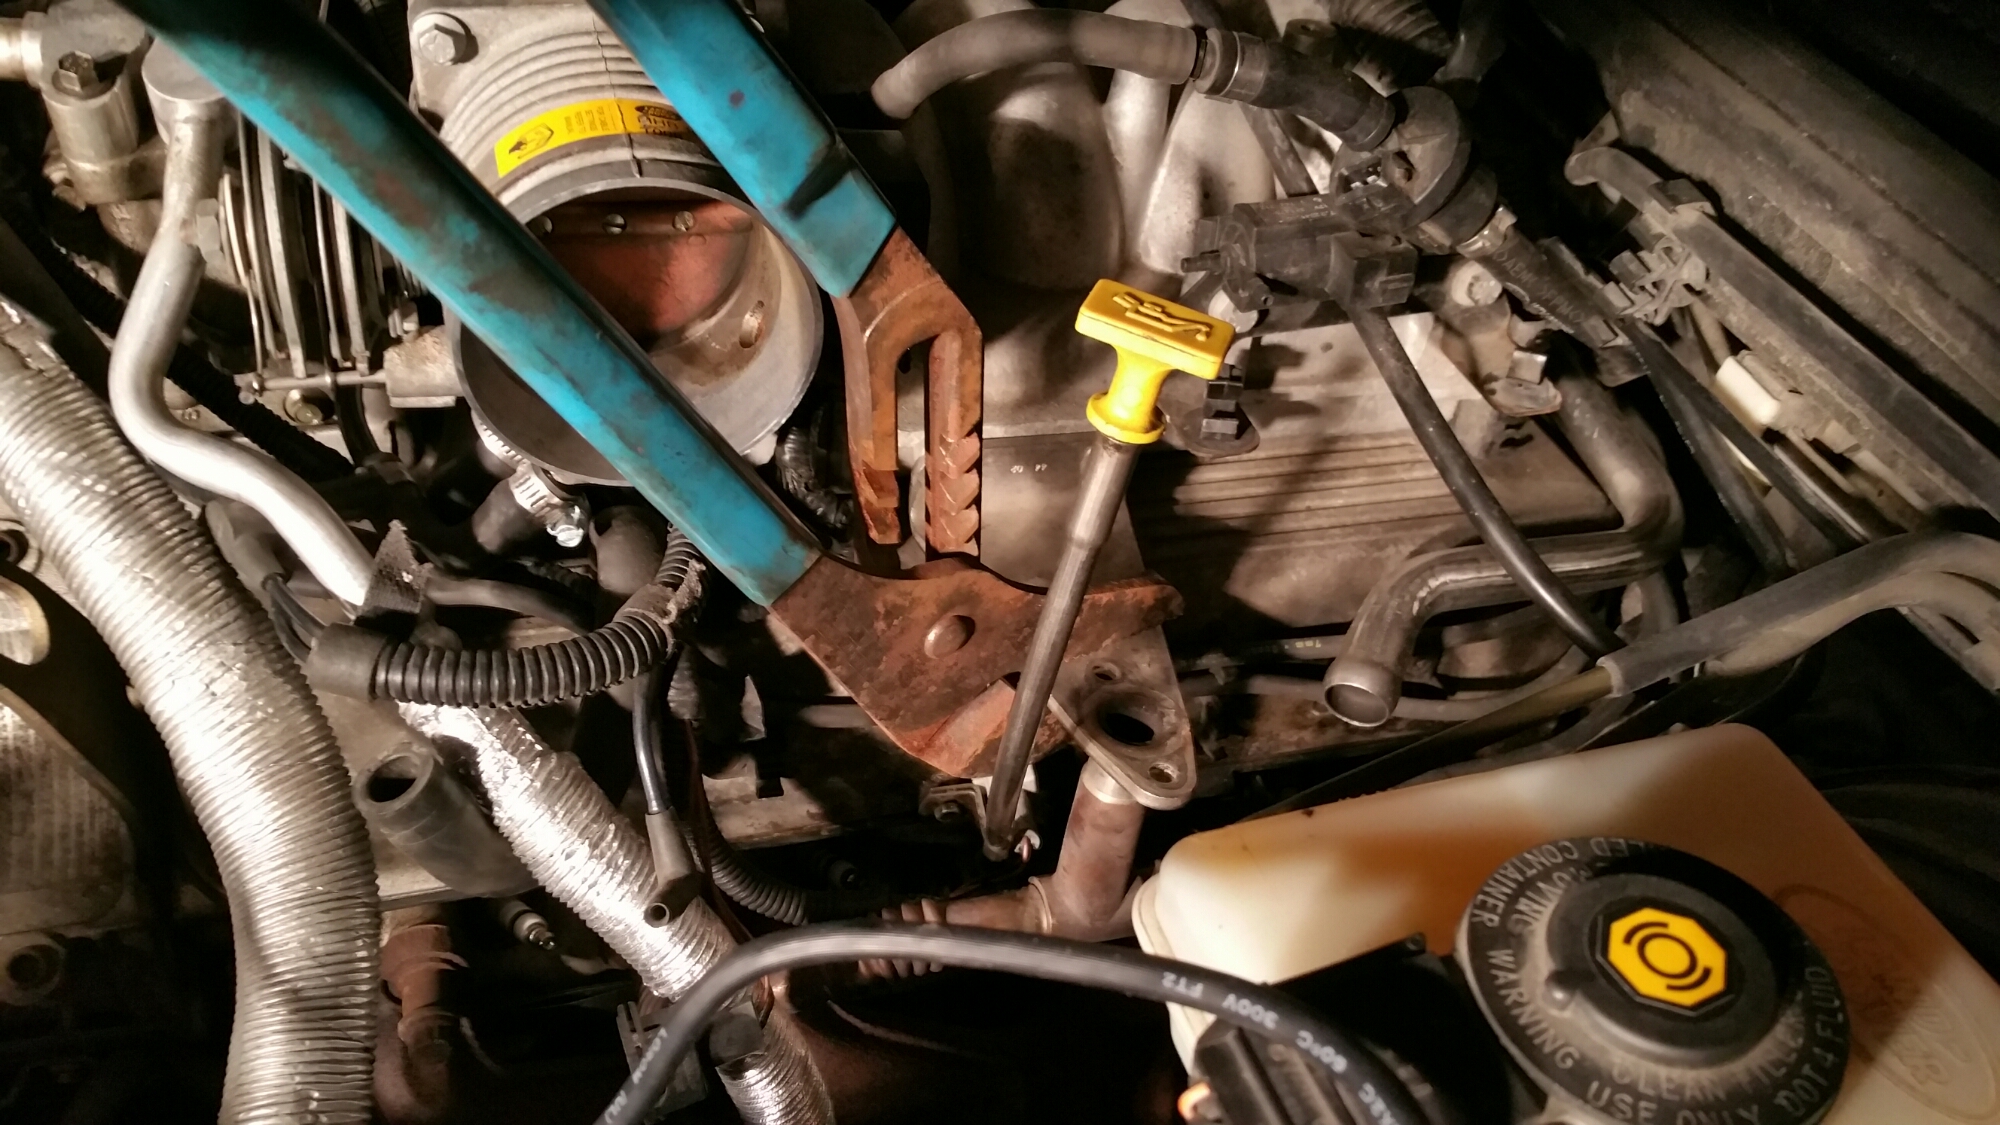
5. Now that the mount is hanging, you can move it around with large pliers to get the pipes bent just right. Once the bolt hole is aligned, pop in the second bolt.
6. Tighten the bolt and nut. Et voila! You now have an easier way of working with the SAI.


